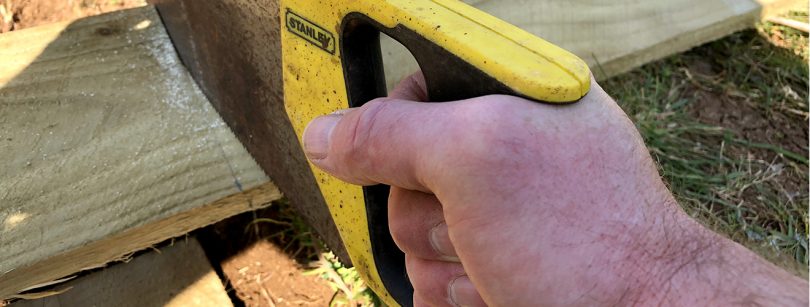
We’ve just taken delivery of a few sacks of barley, oats and wheat seed for our latest brewing experiments. Lucky old us*. And to contain our grassy stash, we’ll be building a lovely new raised bed down on the allotment. But how do you make raised beds, we hear you ask?
It’s easy. Read on, green-fingered friends, read on…
-+-+-+-+-+-+-+-+-+-+-+-+-+-+
Raised bed gardening is an advantageous way of growing plants. The general idea is that plants grown in a deep container that sits on the earth will be insulated from the chill of the ground, retaining warmth for longer, thus creating favourable growing conditions. It’s a technique bourn from traditional permaculture methods designed to maximise cropping; plants are also sown closer together in raised bed gardening, helping create a tight canopy to inhibit weeds, and it also means you are not reliant on the native soil in your garden. In theory you could build and fill a bed for plants that thrive in alkaline soil, and construct a separate bed for those that prefer to nestle down in soil more acidic.
For those less adept at DIY, raised beds can be bought in kit form, with a minimal amount of construction required before you are up, running and ready to plant. For those that like to get stuck into a rewarding garden project, there are three main construction types to consider…
-+-+-+-+-+-+-+-+-+-+-+-+-+-+
Wooden Raised Beds
Advantages: Easy to build. Cheap(ish).
Disadvantages: Slugs will like to hang out in the damp, woody corners. Wood rots – You might need to replace the panels after a few years service.
How to build
- Choose your wood carefully. Pressure treated wood, although made to prevent premature rotting, has its concerns. Back in the old days, chemicals used in the pressure treating process contain chromated copper arsenate (CCA) which uses arsenic – not the kind of chemical you want leaking all over your spuds. Fortunately, most modern PPT treatment uses Tanalith E, an organic based preservative which is safe to use and will retail your organic vegetable status – if that is important factor in your gardening. Old Scaffolding boards are a good choice, and another cheap option would be getting hold of a few pallets to break down. Garden centres are a good source of palettes – ask nicely and they might let you have a couple to take home. Steer clear of any blue ones though – these are hire pallets and unless you want a hefty fine landing on your doorstep, they shouldn’t be touched, let alone set upon with a hammer and saw.
- Use square retaining stakes for each corner, and for maximum stability, every metre. Hammer the stakes into the ground to a depth of around 25 cm.
- Fix your wooden panels to the retaining stakes. Screws will last longer and make things easier if you want to deconstruct your work, but nails are the quickest option. Whatever you choose, make sure they are galvanised for maximum corrosion protection.
- Don’t forget the spirit level! Keep checking your levels as you go.
+-+-+-+-+-+-+-+-+-+-+-+-+-+
Brick walled raised beds
Advantages: Built to last – bricks won’t rot.
Disadvantages: Time consuming and costly to make. You’ll need a bit of basic brickworking skill to construct a brick bed.
How to build
- Mark out the designated area using stakes and string.
- For a strong and stable bed wall, put down a hardcore base approx. 10 cm deep before laying your bricks.
- If you plan to construct your brick raised bed on concrete or an existing patio, leave the odd gap between brick joints to provide drainage. Cover the holes with mesh to stop them clogging.
+-+-+-+-+-+-+-+-+-+-+-+-+-+
Sleeper raised bed
Advantages: Looks the biz. Will last for years.
Disadvantages: Sleepers can be expensive to purchase and can potentially leak undesirable chemicals into your soil.
How to build
- Choose your sleepers carefully – old railway sleepers may look lovely and rustic, but will most likely have been treated with tar and creosote which will seep into your soil in warm weather. Pay a visit to your local garden timber yard, who will be able to advise. Look out for new, softwood sleepers that have been treated with eco-friendly preservatives. Softwood sleepers are also a lot lighter, making them easier to lug around the garden.
- Ensure the ground you intend to build on is firm and level.
- Overlap the sleepers like brickwork if you are building a bed more than two sleeper levels high.
- Fix in position by hammering metal rods into the ground, either side of the sleeper walls.
+-+-+-+-+-+-+-+-+-+-+-+-+-+
Filling your raised bed
To aid drainage, first lay an 8 cm layer of gravel or stones, on top of which lay a weed inhibiting membrane. Fill your bed with topsoil. If you can, avoid filling with soil sourced from elsewhere in the garden to prevent any weed contamination. Remember to add a generous amount of well rotten manure, and dig over the area thoroughly before planting.
—————–
- But unlucky for our allotment neighbours, who will be cursing our wandering seed when it makes its way into their soil beds, borne on stiff breeze and avian beak.
This post is a paid for collaboration


