

A few weeks ago we were approached to see if we could put together a guide about the Palram Harmony greenhouse. The last time we were sent a greenhouse to review it was so terrible that a few gusts of wind whipping through the Mendips contorted it out of shape and it was sent packing to the recycling tip. We didn’t review it.
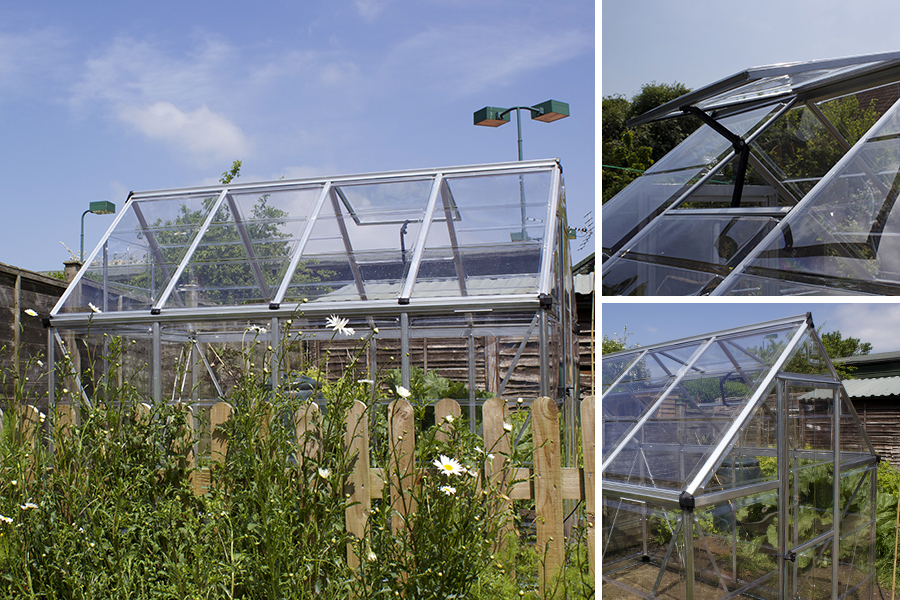
However, Palram’s 6′ x 8′ aluminum framed ‘house looked like a much more professional piece of kit so I arranged for one to be delivered and, in the meantime, began clearing a patch of weeds to accommodate it.
Two weeks later the greenhouse is standing proudly in the garden, with young chilli, tomato and cucumber plants basking in the warmth of its intensified sunny interior, unshaken by the minor hoolie that blew along the street a few days ago. And thanks to the polycarbonate clear panels it should also withstand any wayward tennis balls jettisoned into the garden by budding Garbiñe Muguruzas at the club next door. The greenhouse is, thankfully, a superb product so below is my guide on a few thing to consider when putting it up (or any similar greenhouses).
Prepare a solid base
As with all large sized structures, preparing a sturdy base is of paramount importance before any assembly begins. The Palram Harmony can sit on concrete or bare earth. If you opt for concrete then you’ll be able to bolt it in place for extra security but you’ll miss out on the benefit of planting straight into the ground, which is why I went for the latter option. I’ve given mine additional support by weighing the frame down on the inside with heavy paving slabs (doubling up as a walkway) and some heavy duty tent pegs. However, with bare earth bases you’ll need to put in an extra bit of legwork weeding – that nice and cosy environment you’re creating for those tomatoes will be equally appreciated by weeds, so be thorough with havoc-wreaking roots.
Make sure clear and firm down an area larger than the dimensions of the greenhouse: you’ll not only need room for the door to swing open, but will also need space to walk all the way round the structure (when putting up and for subsequent maintenance). And you should also check the ground is well compacted and level before assembly begins – a wonky surface will guarantee a wobbly structure.
Give yourself time
Although I found the greenhouse construction fairly easy, it still takes quite a while to build: there are lots of nuts to screw. Mine went up over the course of two evenings and, despite offers of help from fascinated neighbours monitoring my progress (and, no doubt, hoping for amusing disasters) I was able to do this single handedly. I was, however, blessed with some rare still weather: if your forecast is a little blowy some assistance in holding the frame would help and you might not wish to leave it overnight in an incomplete state.
Study the instructions
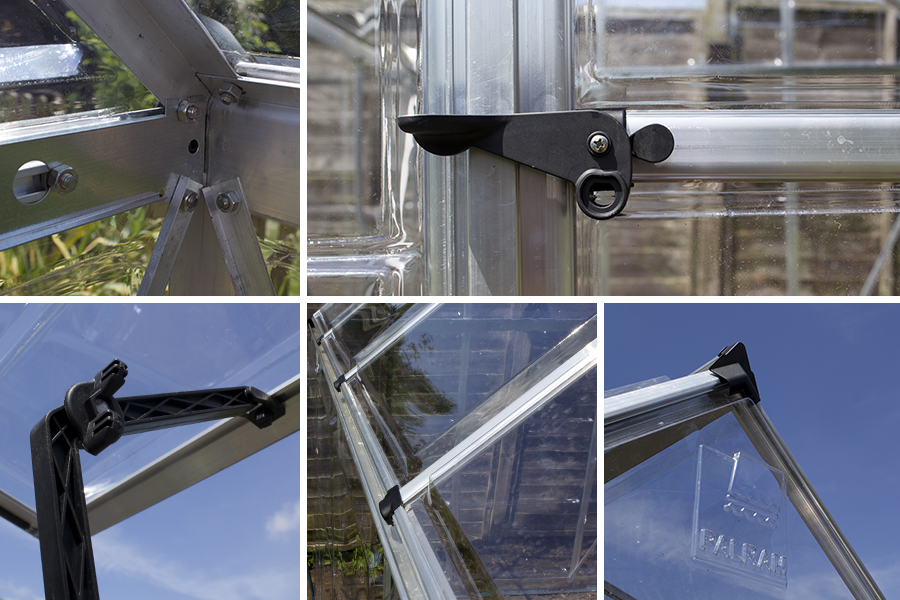
Anyone who has battled with Ikea style flatpackery will be familiar with assembly instructions that are purely diagrammatical. At times it isn’t always obvious which way round a piece of frame is being depicted, so check the instructions a few stages in advance and you should be able to work out how the pieces are designed to fit with subsequent bits of aluminum. Although some instructions appear a little complicated they all come together remarkably easily and I only made one error throughout the process (back right corner, getting the order of three joined pieces the wrong way round). Fortunately it soon became obvious where I’d been a fool and the mistake was quickly rectified with minimal swearing.
Take care with the pieces
Although sturdy when finally built, some of the aluminum supports can easily bend with a misplaced boot and the polycarbonate panels could potentially be damaged by a flailing tool. To avoid this, lay out all the items away from the construction site and only bring along the pieces you need for each stage. In case you do have a mishap, a pair of pliers is a useful accessory to straighten out any unfortunate kinks (pliers are also useful for pinching in place the rubber strip that plumbs the length of the door’s outer edge).
Choose your window space and door opening direction
At a fairly early stage in proceedings you’ll have to connect pieces that determine where the openable window goes and in what direction the door swings, quite in advance of fitting the window and door. So consider where they are best suited in practical terms and double check you’re putting up the relevant pieces the right way round.
Don’t tighten everything just yet…
Throughout the process you’ll see warnings to not fully tighten all the nuts. This is important because it likely means an additional piece of the structure still has to slot into place or the piece can be adjusted at a later stage to help level things out. It took quite a bit of nudging for me to get my door hung neatly until it opened and closed without catching, so the final cranking of the nuts was left until this task was successfully achieved. When you have your fully fitted greenhouse in place methodically go round tightening every nut.
Get growing
Step back and admire your new greenhouse. Name it if you wish (Rich did with his shed; I’m less inclined on anthropomorphism for garden structures). Then get planting. And now we have a shiny new greenhouse, expect some new growing guides from us to follow…
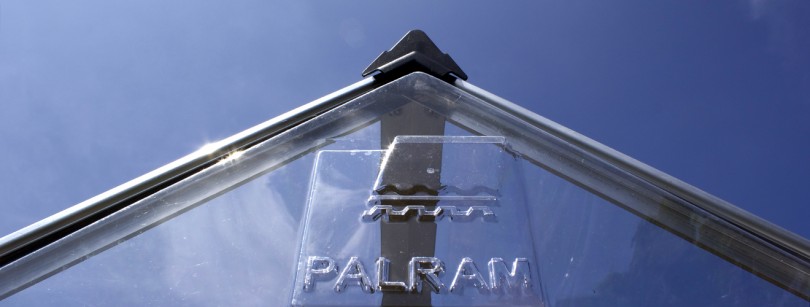
Thanks to Palram for the greenhouse. If you’re interested in one for your garden, take a look here for all the relevant specifications.
The Harmony 6′ x 8′ greenhouse is available to buy from Greenhouse Stores.


This will help a lot for your plants to absorb sunlight from the sun, thanks to the instructions!
Our greenhouse uses ploycarbonate sheets instead of glass and it has provides a great aternative solution to glass that other gardeners may want to consider…