

SmugMug, the world’s largest independent photo sharing platform have probed top photographer Alan Shapiro for his tips, which they have kindly shared with us. (They obviously thought we needed a bit of guidance).
There’s some cracking floral photography tips here. Take it away, Alan…
“I started my photographic journey shooting people in New York as a stress reliever and daily creative exercise regimen. My journey took me to some of the city’s most overlooked people which made me quite sad. So I turned to a totally different genre of shooting to provide a counterbalance. And found a magnificent and delightful world waiting to be explored.”
“When things are looking down, find something beautiful looking up.”
Alan Shapiro
1. The right tool for the job. Invest in the best macro lens you can afford
When I first started shooting macro, I didn’t have a macro lens. So I would stand a few feet back with my Canon 70 – 300 mm and zoom in on my subject. As soon as I could, I bought a 100mm macro. It made the world of difference. Now you may not be able to afford that now. But, the good news is there are all sorts of options like extension tubes, focusing bellows, close up filters and reverse lens adaptors to help you make do with what you have.
2. The tripod. A man’s best friend
Always bring a tripod. I’m a steady hand-held shooter. It allows me a lot of freedom to explore different angles and a multitude of compositions. But there are times when the available light and my aperture necessitate a tripod for the tack sharpness I am looking for. So I always have a lightweight tripod with a centre column that reverses (so I can get even lower to the ground) handy. This ensures I always get the shot no matter the condition. My choice: the Benro combination tripod
3. Focus manually to explore.
The mere act of changing the focus when shooting macro can be a miraculous event, revealing all sorts of beautiful things as you go. Start by focusing on what you think you want to shoot (be it the centre of the flower or a water droplet on a leaf. But then, switch to manual focus and explore. See how dramatically things change with just a change of a few millimetres? I guarantee you will see entirely new shots emerge as you do this. Click away.
P.S. Learn how to use the Live View function on your camera to magnify your image and ensure the area you want in focus is as sharp as possible.
4. The lowest aperture isn’t always the best aperture
My macro lens allows me to shoot at f/2.8 for a very shallow depth of field. But just because I can shoot that shallow doesn’t mean I do. Like most beginners, I ran around shooting at f/2.8 for a few days when I first got my lens. Eventually I figured out what aperture would give me the best results for the depth I wanted in an image. My tip: shoot a range of images changing your aperture. Then make note of the effect when you’re editing in your favourite post processing program.
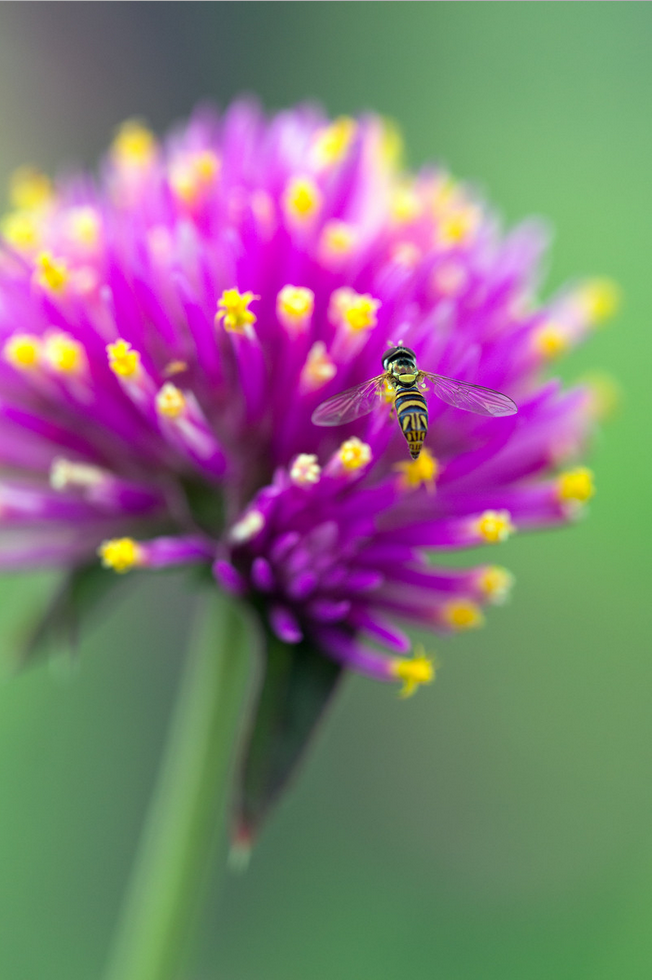
5. Shutter speed trumps ISO.
With macro photography, Aperture Priority is king as it’s all about controlling your depth of field to draw the viewer’s eye to the area you want them focusing on. But if you’re doing work where you need a greater depth of field (say for shooting insects) and your light is limited, my first rule is bump your ISO so you have a faster shutter speed to work with. Going from ISO 100 to ISO 400 will make a world of difference if the subject is flitting around.
6. The background is often just as important as the foreground.
Walk around your subject.
Once I choose a subject, I walk around it looking at how the background changes. You’d be surprised how merely moving an inch left or right can reduce contrast to clean up an image or reveal a different colour background that takes your images from good to sublime. This applies whether I’m shooting shallow for creamy booked or with a deeper depth of field
7. Use your body to block the sun
I don’t know about you, but I’m not always at the right place at the right time. By that I mean I often find myself in a beautiful place at high noon when the sun is overhead. Not an ideal time for shooting macro as the resulting contrast
8. Embrace cloudy, overcast days
Some of my best shots are taken on grey days. I don’t need the sun. And I don’t even need a flash (although I do carry one in my bag with an extension cord to get it off the top of my camera). I also carry modifiers like a mini softball to give me diffused light rather than the harsh light of a direct flash. Nothing ruins a beautiful macro quicker than harsh light. I also suggest a ring flash for those macro situations where even balanced light is important (Note: I own one but rarely use it as I have found my work doesn’t call for it nearly as much as I thought it would).
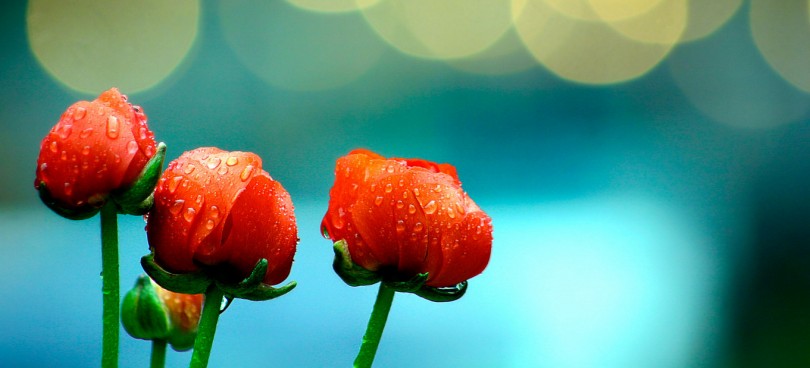
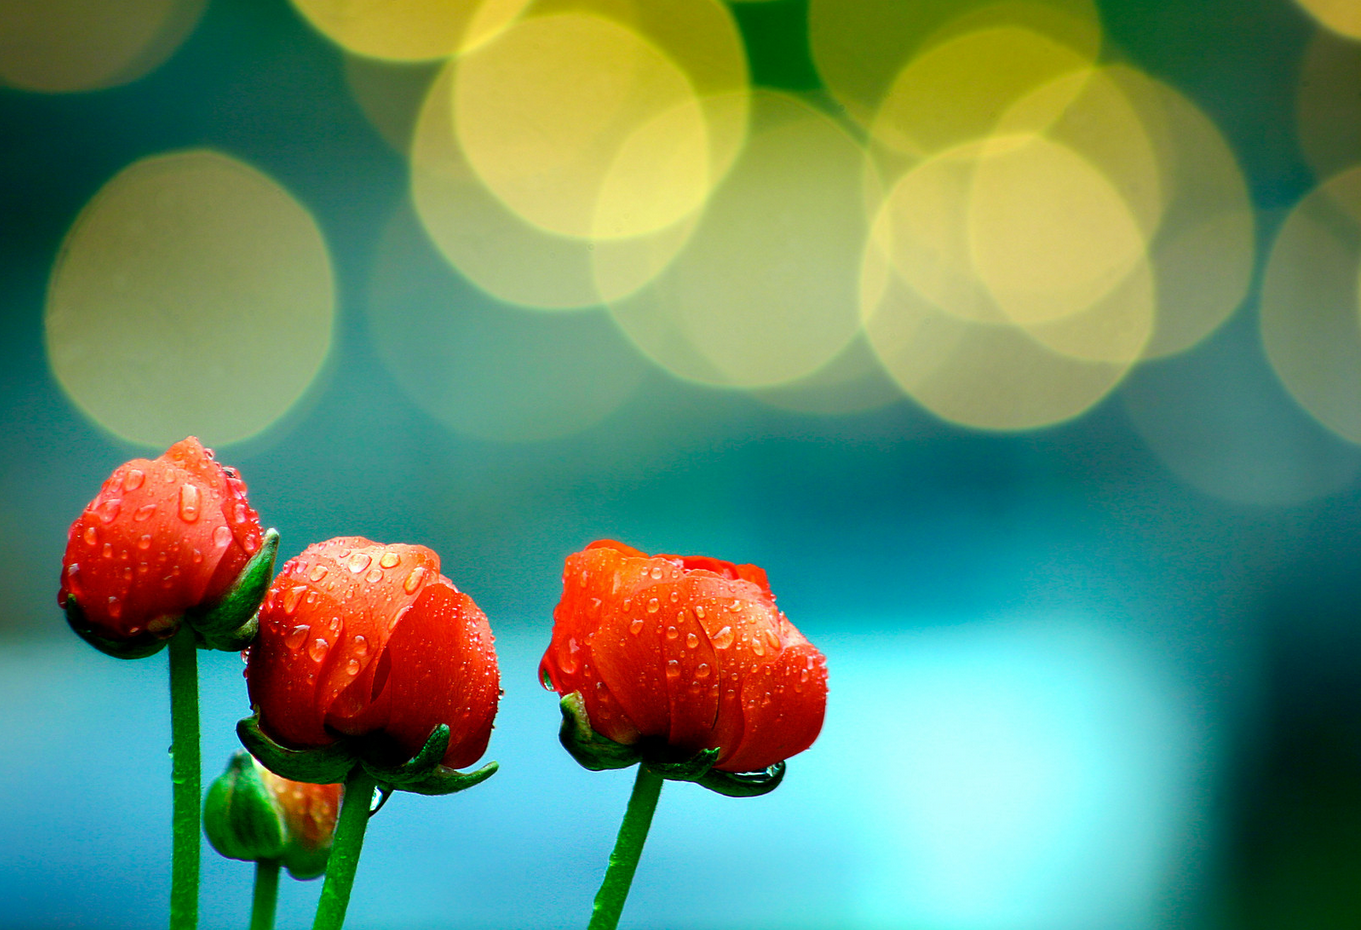
9. Live for rainstorms and sprinklers
Nothing makes me happier than going out immediately after a rainstorm to shoot water droplets. They act as magnifying lenses to add a magical quality to any image. Failing that, carry a small atomizer bottle and spray your subject.
10. Review your images
“Chimping” (taking a photo and immediately looking at your cameras LCD screen, then doing it over and over again) is something many people make fun of. But with macro photography, it’s something I recommend. I tend toward very simple dramatic compositions and don’t want any extraneous detail intruding. When I’m working this closely, a stray leaf or petal can make a huge difference. Before you move on to your next subject, take a minute to review what you shot. And don’t forget to use the magnify feature to zoom in and check your focus.
11. Carry your own backdrops
I carry a yard each of black and white fabric in my camera bag that are seamed at one end so that I can insert a small telescoping rod that I got in a hardware store in case I want to create an all white or all black background for my subject. I simply hold the rod in position with my left hand and shoot with my right or pull out my tripod and go from there. I also carry a few size reflector cards (can be as simple as a white card or a piece cardboard covered in tin foil) to reflect light into shadow areas to bring out more detail or simply balance the lighting.
12. Make big glorious mistakes.
I love to try new things like setting my camera on a tripod with a longer shutter speed and adjusting focus during the exposure. Or trying long exposure macros by simply leaving the shutter open on a breezy day to see what happens. I like to experiment each day to see what glorious mistakes I can make.
13. Have fun.
That’s what this passion of ours is all about, right? Macro photography takes time, practice and patience. And we may not always get “the shot”. So what! The sheer joy of being outside, rolling around in the grass while exploring how beautiful or world is (way up close) should bring a smile to your face. It does for me. Every single time.
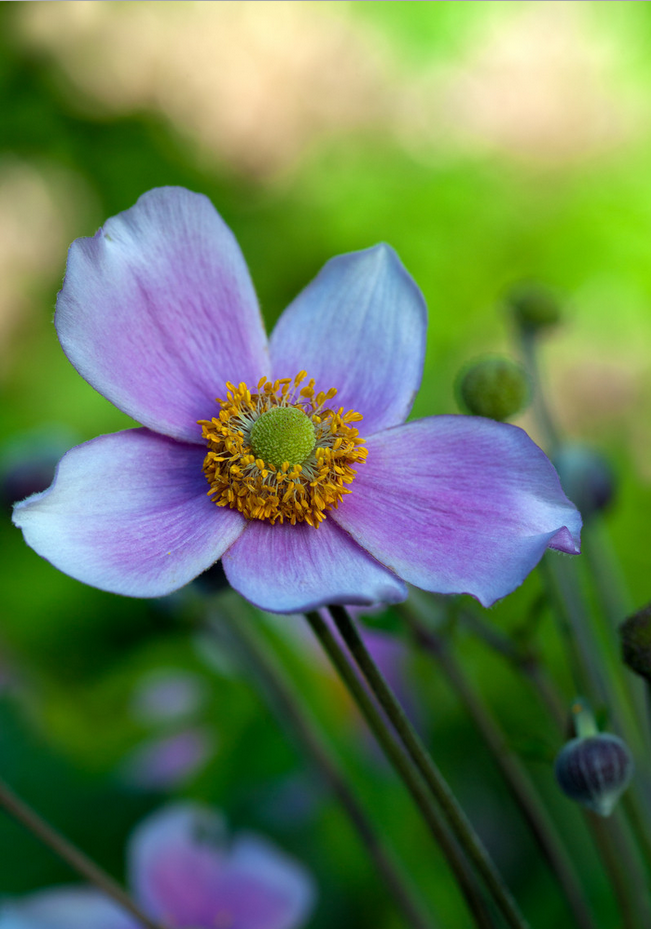
© Alan Shapiro
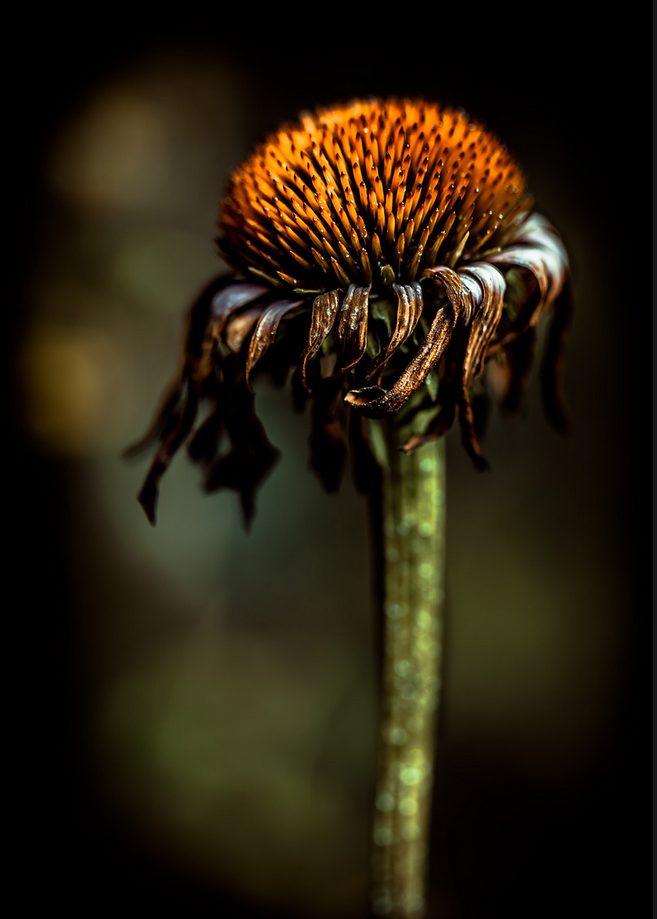
© Alan Shapiro
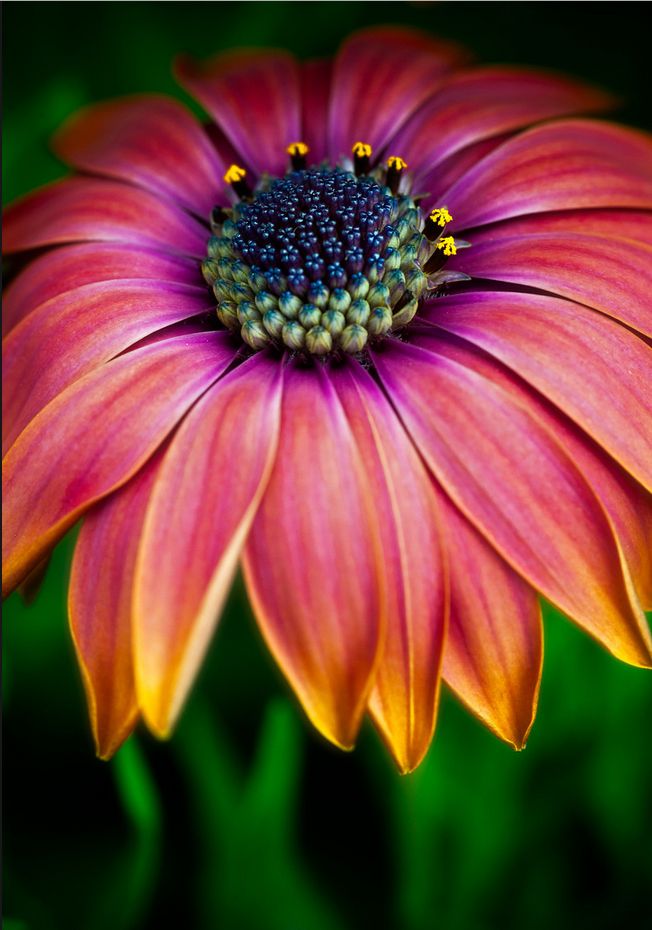
© Alan Shapiro
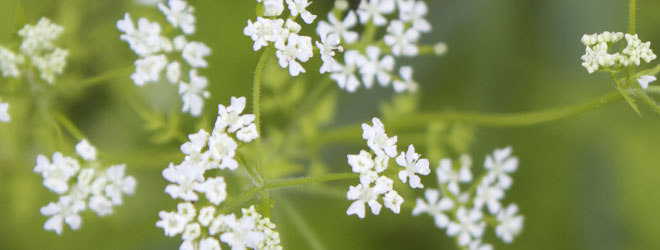
©Alan Shapiro
© Alan Shapiro
© Alan Shapiro


Beautiful pictures of flowers! It was an informative post. Thanks.